How to Paint a Room: A Step-by-Step Guide for a Fresh Look
Painting a room is one of the most effective and affordable ways to refresh your space. Whether you’re looking to brighten up a dull room, create an accent wall, or completely change the color scheme, knowing how to paint effectively can make the process smoother and the results more satisfying. This guide will walk you through the essential steps to successfully paint a room, ensuring a beautiful finish that you can be proud of.
Why Painting Your Room Matters
Keywords: benefits of painting, importance of room aesthetics
Understanding why you want to paint can motivate your efforts:
- Aesthetic Enhancement: A fresh coat of paint can dramatically change the look and feel of a room, making it more inviting and enjoyable.
- Personal Expression: Choosing colors allows you to express your personality and style, creating a space that reflects who you are.
- Increased Property Value: Well-painted walls can enhance the overall value of your home, making it more appealing to potential buyers.
Tools You’ll Need
Keywords: painting tools and materials, essentials for painting a room
Having the right tools can significantly improve your painting experience:
- Paint Brushes and Rollers: Use a variety of sizes for different surfaces. A 2- to 4-inch brush is ideal for corners and edges, while rollers work well for large areas.
- Painter’s Tape: Use this to protect trim, windows, and doors from paint splatter.
- Drop Cloths: Protect your floors and furniture with drop cloths or old sheets.
- Paint Tray: A paint tray is essential for loading your roller with paint.
- Ladder: If you need to reach high ceilings, a sturdy ladder will be necessary.
- Paint: Choose high-quality interior paint in your desired color.
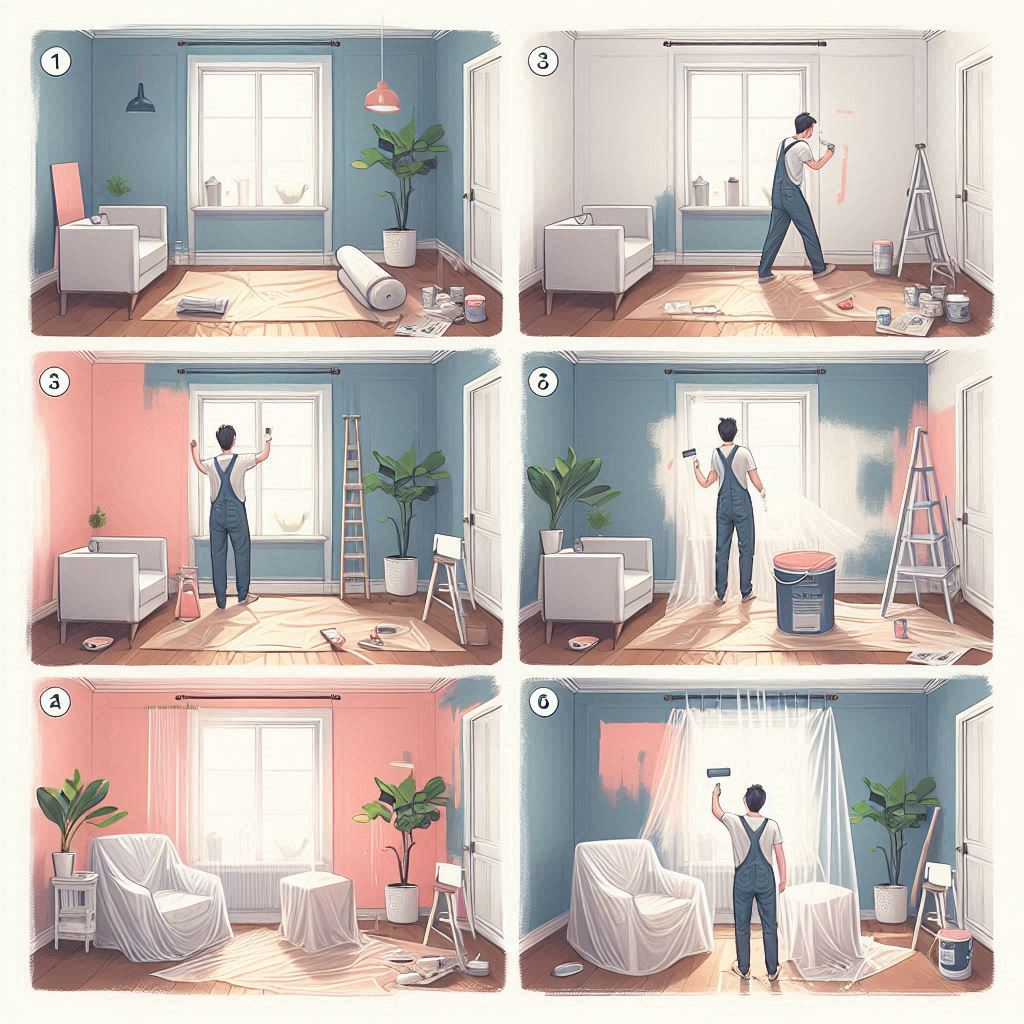
Step-by-Step Guide to Painting a Room
Step 1: Prepare the Room
Keywords: room preparation for painting, creating a clean workspace
Preparing the room is crucial for a successful paint job:
- Remove Furniture: Move as much furniture as possible out of the room. For larger items, push them to the center and cover them with drop cloths.
- Remove Wall Fixtures: Take down pictures, mirrors, and light switch covers to ensure a clean painting surface.
- Clean the Walls: Wipe down the walls with a damp cloth to remove dust and dirt, allowing the paint to adhere better.
Step 2: Repair and Prime
Keywords: wall repair techniques, priming walls before painting
Before you start painting, it’s important to ensure the walls are in good condition:
- Fill Holes and Cracks: Use spackle or joint compound to fill any holes or cracks. Smooth it out and let it dry before sanding it down for a flat finish.
- Sand the Walls: Lightly sand the walls to create a smooth surface, especially if the previous paint is glossy.
- Apply Primer: If you’re painting over a dark color or if the walls are stained, apply a coat of primer to ensure even coverage and better adhesion.
Step 3: Tape Off Edges
Keywords: using painter’s tape, protecting surfaces while painting
Using painter’s tape helps achieve clean lines and protect adjacent surfaces:
- Apply Painter’s Tape: Carefully apply tape along the edges of trim, windows, and doors. Press down firmly to prevent paint from seeping underneath.
- Check for Gaps: Make sure there are no gaps between the tape and the wall for a clean finish.
Step 4: Start Painting
Keywords: techniques for painting walls, applying paint effectively
Now it’s time to start painting:
- Cut in First: Using a brush, “cut in” around edges and corners before using the roller. This means painting the areas that the roller can’t reach.
- Use a Roller: Fill your paint tray with paint and load your roller. Start at the top of the wall and work your way down, using a W or M pattern to ensure even coverage.
- Apply Multiple Coats: Depending on the color and type of paint, you may need to apply multiple coats. Allow each coat to dry completely before applying the next.
Step 5: Finishing Touches
Keywords: completing your paint job, removing painter’s tape
Once you’ve finished painting, it’s time to add the finishing touches:
- Remove Painter’s Tape: Carefully peel off the painter’s tape while the paint is still slightly wet for cleaner edges. If the paint has dried, use a utility knife to score the tape before removing it.
- Touch Up Areas: Inspect the walls for any missed spots or uneven areas and touch them up with a brush.
- Clean Up: Remove drop cloths, clean brushes and rollers with soap and water (if using water-based paint), and put the room back in order.
Step 6: Enjoy Your Freshly Painted Room
Keywords: enjoying your newly painted space, showcasing your paint job
Take a step back and admire your hard work:
- Let It Dry Completely: Allow the paint to cure fully before placing furniture back in the room or hanging pictures.
- Decorate and Personalize: Add your personal touches with decor that complements the new color scheme, making your space uniquely yours.
Conclusion
Painting a room can be a rewarding project that transforms your space and enhances your home’s aesthetic. By following these steps and using the right tools, you can achieve a professional-looking finish that you can be proud of. Embrace the creative process and enjoy the journey of making your home a reflection of your style!
Call to Action
What tips do you have for painting a room? Share your experiences and advice in the comments below, and let’s inspire each other to create beautiful spaces!


Be First to Comment