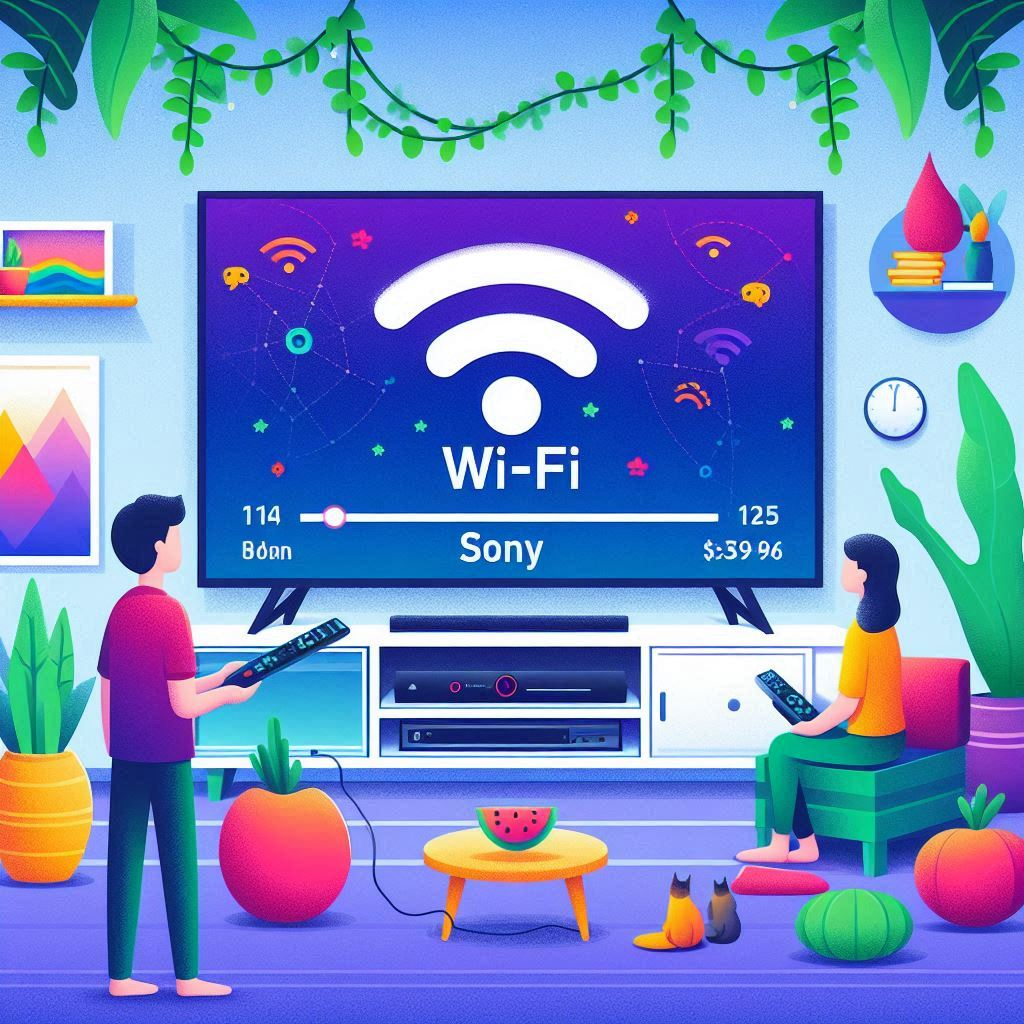
How to Connect Your Sony Smart TV to Wi-Fi: Simple Guide
Connecting your Sony Smart TV to Wi-Fi is essential for streaming your favorite shows, movies, and online content. Whether you just unpacked your new TV or you’re looking to reconnect, this guide provides a simple step-by-step process to get you online quickly. Let’s dive in!
Step 1: Turn on Your Sony Smart TV
Begin by powering on your Sony Smart TV using the remote control. Ensure your TV is set to the home screen.
Step 2: Access the Settings Menu
- Press the Home Button: On your remote control, press the Home button (the button with a house icon) to access the main menu.
- Navigate to Settings: Use the arrow keys on your remote to scroll down and select Settings (gear icon).
Step 3: Go to Network Settings
- In the Settings menu, scroll down and select Network.
- Click on Network Setup or Internet Setup to start the Wi-Fi connection process.
Step 4: Choose Wi-Fi Connection
- You will see options for Wired and Wireless connections. Choose Wireless.
- The TV will search for available Wi-Fi networks.
Step 5: Select Your Wi-Fi Network
- Once the list of available networks appears, use the arrow keys to select your Wi-Fi network (SSID).
- If your network doesn’t appear, ensure that your router is powered on and within range. You may also try refreshing the list.
Step 6: Enter the Wi-Fi Password
- After selecting your network, you will be prompted to enter your Wi-Fi password.
- Use the on-screen keyboard to input your password carefully. Ensure there are no typos and that you match the case (uppercase/lowercase).
Step 7: Connect to the Network
- After entering the password, select Connect.
- Your Sony Smart TV will attempt to connect to the Wi-Fi network. If the connection is successful, you will see a confirmation message.
Step 8: Test the Connection
- To ensure your TV is connected properly, go back to the Network Settings.
- Select Network Status or Test Internet Connection to verify that your TV is online.
Troubleshooting Tips
If you encounter any issues while connecting your Sony Smart TV to Wi-Fi, consider the following troubleshooting tips:
- Check Wi-Fi Signal: Ensure your TV is within range of the router. If the signal is weak, try moving the router closer to your TV or using a Wi-Fi extender.
- Restart Your Devices: Sometimes, simply restarting your TV and router can resolve connectivity issues.
- Verify Wi-Fi Password: Double-check that you entered the correct Wi-Fi password. This is a common cause of connection problems.
- Update TV Software: Ensure that your TV is running the latest software. Go to Settings > About > System Update to check for updates.
- Reset Network Settings: If you continue to have issues, consider resetting your network settings on the TV. This option can typically be found in the Network Settings menu.
FAQs on Connecting Your Sony Smart TV to Wi-Fi
1. Can I connect my Sony Smart TV to Wi-Fi without a remote?
Yes, if your TV has physical buttons, you can navigate through the menu using those buttons. Alternatively, you can use the Sony TV SideView app to control your TV from your smartphone.
2. What if my Wi-Fi network doesn’t appear?
If your Wi-Fi network doesn’t show up, ensure your router is functioning properly, and try restarting both the router and the TV. You can also manually enter the SSID.
3. How can I improve my Wi-Fi signal for my Sony Smart TV?
Consider relocating your router closer to the TV, using a Wi-Fi extender, or connecting your TV via Ethernet for a more stable connection.
Conclusion
Connecting your Sony Smart TV to Wi-Fi is a straightforward process that opens the door to endless entertainment options. By following this simple guide, you can enjoy seamless streaming and easy access to online content. If you run into any issues, the troubleshooting tips provided will help you resolve them quickly. Now sit back, relax, and enjoy your favorite shows and movies on your Sony Smart TV!


Be First to Comment